Hey there, fellow coffee lover! Alex here, from Coffee Grinder Choice. Let’s talk about something that’s often overlooked but is a total game-changer for your daily brew: a clean grinder. If you’ve ever wondered How To Clean A Blade Grinder properly, you’ve landed in the right place. We’ve all been there—you rush to make your morning cup, and it tastes… a little off. A bit stale, maybe even bitter. The culprit isn’t your beans or your fancy new brewing method; it’s likely the ghost of coffees past lurking in your grinder. Cleaning it isn’t just about hygiene; it’s about honoring your coffee beans and unlocking their true, delicious potential every single time.
Why a Dirty Grinder Ruins Your Coffee
Think of it this way: coffee beans are full of wonderful, aromatic oils. These oils are what give your coffee its incredible flavor and aroma. But when those oils and tiny coffee particles, or fines, are left behind in your grinder, they go stale. Over time, they oxidize and turn rancid.
Each time you grind new, fresh beans, you’re mixing them with this old, rancid gunk. The result? Flavor contamination. That beautiful single-origin Ethiopian bean you just bought will end up tasting like last week’s dark roast. A dirty grinder doesn’t just add bad flavors; it also creates an inconsistent grind, which leads to a poorly extracted, and ultimately, disappointing cup of coffee.
“A clean grinder is the single most important, non-bean variable for great coffee. You can have the best beans in the world, but if you’re grinding them in a dirty machine, you’re starting with a compromised ingredient.” – Isabella Rossi, Certified Q Grader and Equipment Technician.
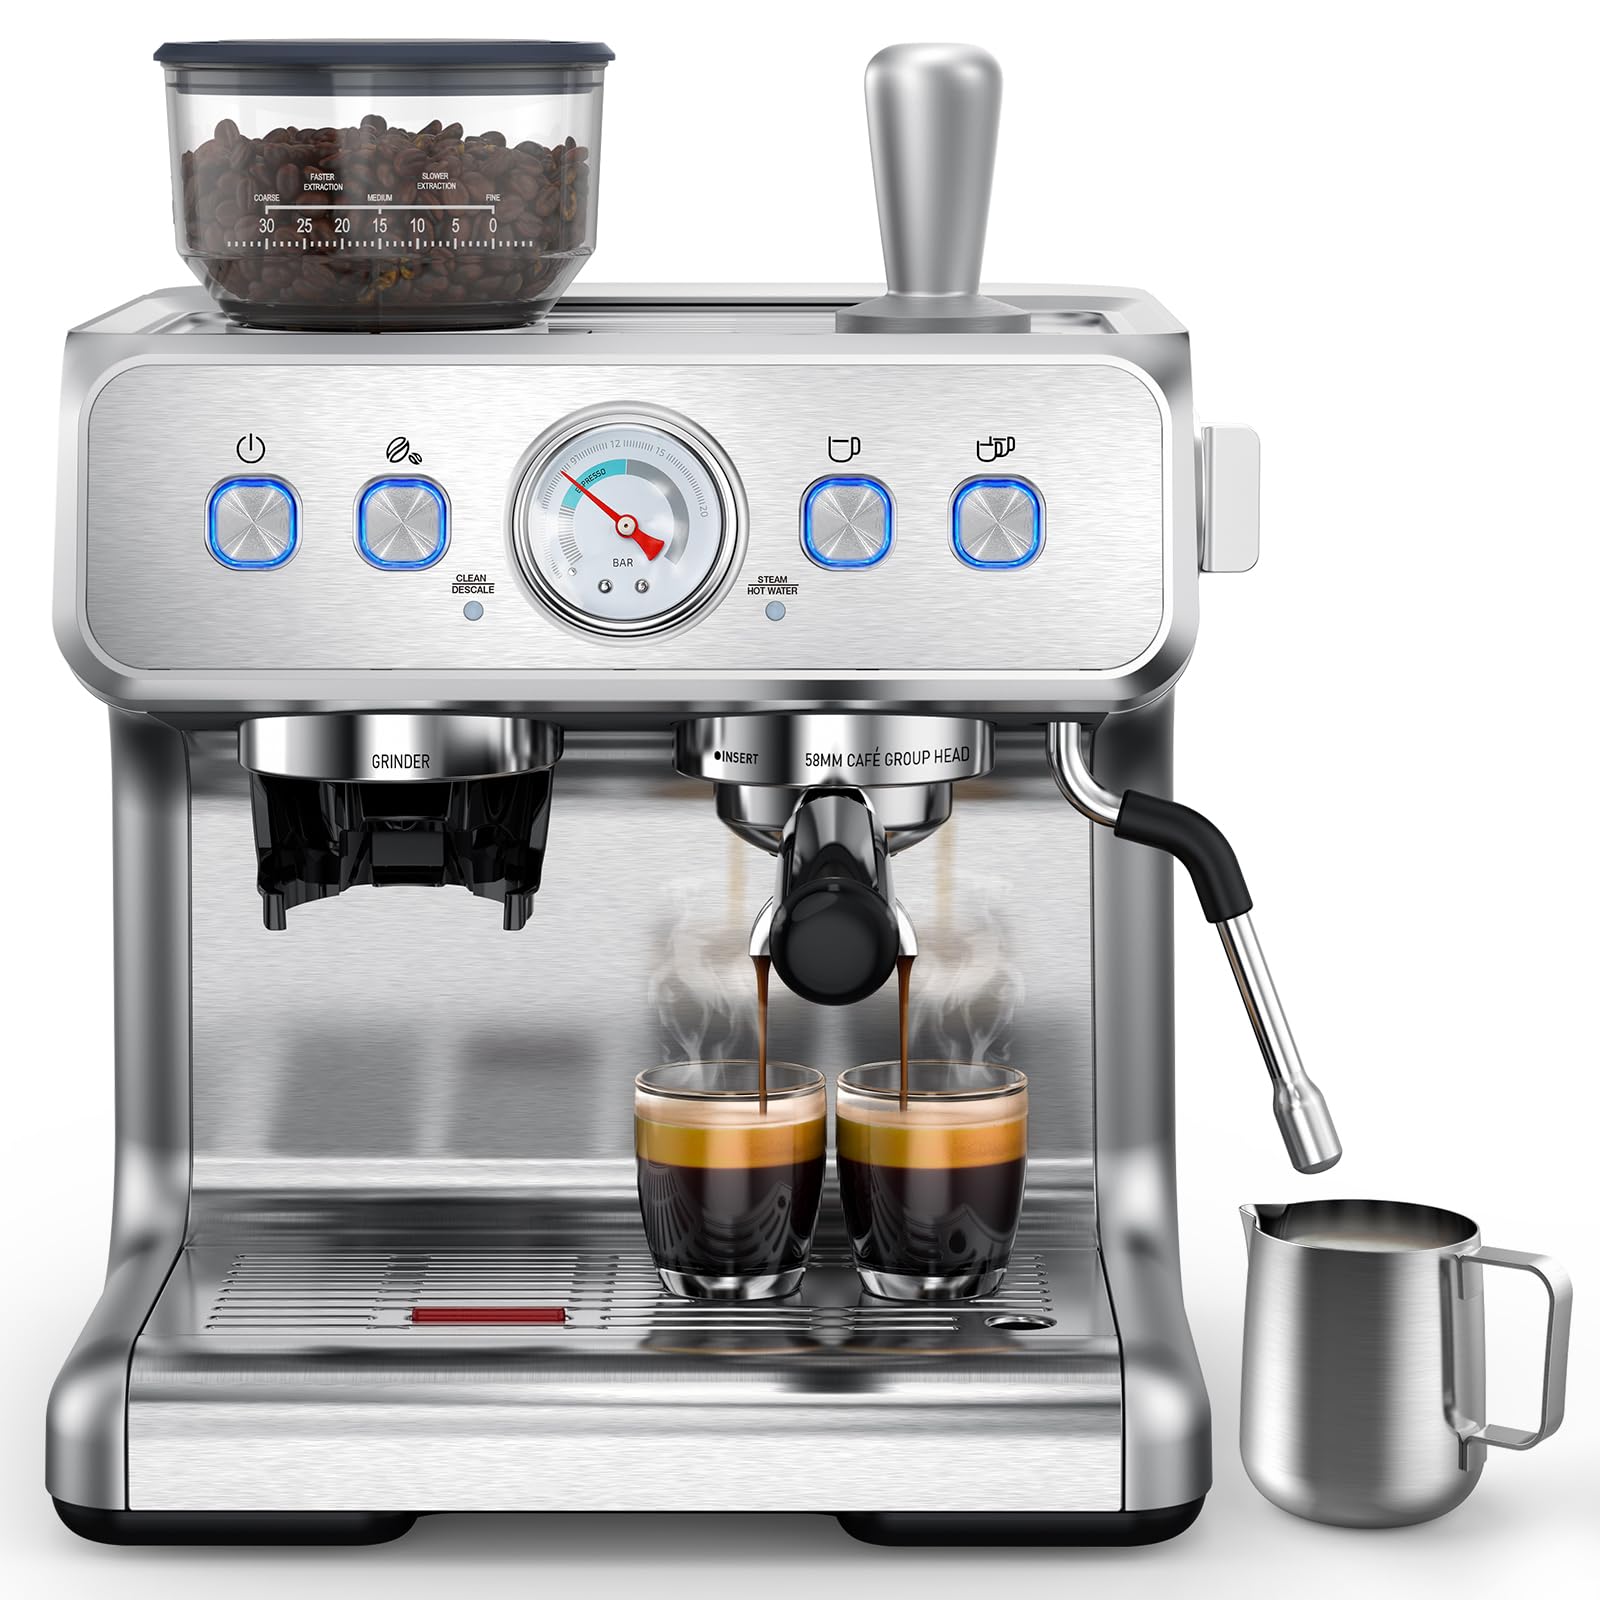
A Quick Refresher: Blade vs. Burr Grinders
Before we dive into the cleaning, let’s quickly touch on the difference. Your blade grinder works a lot like a blender or a spice grinder. It has a spinning blade at the bottom that violently smashes and chops the coffee beans into smaller pieces. It’s affordable and gets the job done for many home brewers.
A burr grinder, on the other hand, uses two abrasive surfaces (burrs) to crush and grind the beans to a uniform size. It offers far more control and consistency, which is why most coffee pros swear by them. But for today, our focus is on giving that trusty blade grinder the TLC it deserves.
The Best Method for How to Clean a Blade Grinder
So, you’re ready to get that grinder sparkling. The good news is, it’s incredibly simple and fast. There are two main approaches: the quick-and-easy dry clean and the more thorough deep clean.
The 60-Second Dry Clean (The Rice Method)
This is the go-to method for a quick, regular cleaning to remove oils and stubborn fines. It’s effective and brilliantly simple.
- Measure it Out: Grab about a quarter-cup of uncooked, plain white rice. Do not use instant rice or brown rice. Instant rice is too soft and can turn to powder, while the higher oil content in brown rice defeats the purpose.
- Grind the Rice: Pour the rice into your empty grinder chamber. Secure the lid and run the grinder in short bursts (pulsing) for about 30-60 seconds, or until the rice has turned into a fine powder. You’ll see the powder change from white to a brownish-yellow as it absorbs the coffee oils.
- Empty and Wipe: Carefully discard the rice powder. You’ll be amazed at how much coffee residue it picked up. Use a dry paper towel or a soft brush (like a clean paintbrush or pastry brush) to wipe out any remaining powder and coffee dust.
- The “Purge” Grind: To get rid of any lingering rice flavor, it’s a good idea to grind a small handful of coffee beans (about a tablespoon) and then discard them. This “purges” the system, ensuring your next real brew is pure coffee flavor.
A Quick Note: Some manufacturers advise against the rice method, fearing it can be too hard and may dull the blades or strain the motor over time. A great alternative is to use dedicated grinder cleaning pellets, like Grindz, which are designed specifically for this purpose and are completely food-safe.
The 5-Minute Deep Clean
I recommend doing this every few weeks, or whenever you switch to a very different type of coffee bean (like going from a dark, oily roast to a light, fruity one).
- Safety First! This is non-negotiable. Unplug your grinder from the wall. Never attempt to clean the inside with the grinder plugged in.
- Wipe It Down: Take a damp (not soaking wet!) cloth or paper towel and wipe the inside of the grinding chamber and the underside of the lid thoroughly. This will help remove the stuck-on oils and fine coffee dust. For stubborn spots, a little bit of mild soap on the cloth can help, but be sure to wipe it again with a clean, damp cloth to remove any soap residue.
- Get in the Corners: Use a dry, soft brush or even a wooden skewer/toothpick to gently dislodge any grounds that are stuck in the corners or around the blade assembly. A can of compressed air can also work wonders here, but be sure to do it over a sink or trash can to avoid a mess.
- Air It Out: Leave the lid off for a few minutes to ensure the inside is completely dry before you put it back together. Trapped moisture is the enemy of both your grinder’s motor and your coffee’s freshness.
- Clean the Exterior: Don’t forget the outside! Give the body of the grinder a quick wipe-down with a damp cloth to remove any dust or coffee smudges.
How Often Should You Clean Your Blade Grinder?
This is a common question, and the answer depends on your usage. Here’s a simple guide:
- Daily Coffee Drinker: A quick dry clean (with rice or pellets) once a week is a great habit. A deep clean should be done every 2-3 weeks.
- Several Times a Week: A dry clean every other week and a deep clean once a month will keep your coffee tasting fresh.
- If You Use Oily/Dark Roast Beans: These beans leave behind much more residue. You’ll want to do a quick clean after every bag of oily beans you finish.
Common Mistakes to Avoid
Learning how to clean a blade grinder is easy, but a few common slip-ups can cause damage. Steer clear of these:
- Never, ever submerge the grinder in water. The motor is in the base, and water will destroy it instantly.
- Don’t put the grinder or its parts in the dishwasher, even if they seem removable. The high heat and harsh detergents can damage the plastic and metal components.
- Avoid using harsh chemical cleaners or abrasive sponges. They can scratch the surfaces and leave behind chemical residues you don’t want in your coffee.
- Don’t forget to unplug it. It bears repeating. A spinning blade and your fingers should never meet.
Frequently Asked Questions
Q: Can I use water to clean my blade grinder?
A: You should never use running water or submerge your grinder. The motor is housed in the base and is not waterproof. A slightly damp cloth for wiping the interior is fine, as long as you ensure it’s completely dry before use.

Q: Is the rice method really safe for my grinder?
A: For most standard blade grinders, it’s generally safe. However, some high-powered or specialized models may have specific warnings against it. When in doubt, check your user manual or opt for commercial grinder cleaning pellets, which are formulated to be gentler.
Q: What can I use instead of rice?
A: Specially designed grinder cleaning tablets (like Grindz) are the best alternative. They are made from food-safe, biodegradable ingredients and are designed to absorb oils without putting any strain on the grinder’s motor.
Q: How do I get rid of the coffee smell from my grinder?
A: The deep cleaning method using a damp cloth is very effective at removing odors. If a smell persists, you can try the rice method, as the rice is excellent at absorbing the aromatic oils that cause lingering smells.
Q: Can I use my blade coffee grinder for spices?
A: You can, but it’s highly recommended to have a separate grinder for spices. The potent oils from spices like cumin or cloves are incredibly difficult to remove and will permanently flavor your coffee, no matter how well you clean it.
Your Grinder is Clean, Now What?
Congratulations! You’ve just taken a massive step toward a better, more consistent cup of coffee. Taking five minutes to learn how to clean a blade grinder is an investment that pays off with every delicious sip. A clean machine allows the true character of your beans to shine through, unmarred by old, stale flavors.
Now that your grinder is pristine, you can brew with confidence. What’s your go-to cleaning trick, or what’s the first coffee you’re going to brew with your freshly cleaned grinder? Drop a comment below; I’d love to hear about your coffee journey! Cheers to better brewing.