Hey there, fellow coffee enthusiast! Alex here, from Coffee Grinder Choice. You’ve done the hard part: you’ve researched, you’ve invested, and now you have a beautiful coffee grinder sitting on your counter, ready to turn those gorgeous beans into the foundation of a perfect cup. But what happens when you’re not using it? Whether you’re going on vacation or just giving it a rest, knowing What Is The Best Way To Store A Coffee Grinder is just as crucial as knowing how to use it. It’s the secret to protecting your investment and ensuring every future cup is as delicious as the first.
Think of your grinder as a high-performance engine for your coffee journey. You wouldn’t park a sports car in a field for a month without prepping it first, right? The same principle applies here. Storing your grinder correctly prevents stale coffee oils from tainting future brews, protects the delicate burrs from damage, and keeps the whole machine in tip-top shape for years to come. Let’s dive into the ultimate guide to keeping your grinder happy and healthy, even when it’s on a break.
Why Does Proper Grinder Storage Even Matter?
You might be thinking, “Alex, it’s just a grinder. Can’t I just unplug it and stick it in a cupboard?” Well, you could, but you’d be doing a massive disservice to your coffee and your machine. Here’s the real talk on why taking a few extra minutes to store your grinder properly is a game-changer.
The main culprits we’re fighting against are:
- Stale Coffee Oils: Coffee beans are full of oils. Over time, these oils are left behind as a residue inside your grinder. When exposed to air, they oxidize and go rancid. If you store a dirty grinder, that rancid oil will cling to the burrs and internal parts, imparting a nasty, bitter flavor to your next batch of fresh beans.
- Moisture: This is the arch-nemesis of any coffee equipment, especially the burrs. Humidity can lead to rust and corrosion, particularly on steel burrs. This not only ruins the burrs but can also introduce metallic flavors into your coffee.
- Dust and Debris: An uncovered grinder is a magnet for household dust, pet hair, and other tiny particles. You definitely don’t want that stuff mixed in with your morning espresso.
- Bean Degradation: Leaving beans in the hopper is a cardinal sin of coffee freshness. They’ll go stale much faster when exposed to air and light, and their oils will start seeping into the plastic of the hopper.
Proper storage isn’t just about maintenance; it’s about preserving the integrity of your coffee’s flavor.
Short-Term vs. Long-Term Storage: What’s the Difference?
How you store your grinder really depends on how long you’ll be putting it away. The needs for an overnight break are very different from a six-month sabbatical.
Short-Term Storage (Daily or a Few Days)
For daily use, you don’t need to go crazy. The goal is simply to minimize air exposure and keep it clean.
- Run it Empty: At the end of the day, run the grinder for a few extra seconds to clear out any remaining grounds from the chamber.
- Close the Hopper: If your grinder has a gate to close off the hopper, use it. This helps keep the beans inside a little fresher.
- Cover It: If you’re not using it for a couple of days, simply placing a clean, dry cloth over the top can help keep dust out.
Long-Term Storage (A Week or More)
This is where the real process comes in. If you’re heading out on vacation, moving, or just switching up your coffee routine, a deep clean and proper pack-away are essential. This is the focus of our guide.
The Definitive Guide: What Is the Best Way to Store a Coffee Grinder for Longevity
Alright, let’s get down to the nitty-gritty. Follow these steps, and your grinder will be in pristine condition when you’re ready to welcome it back into your daily routine. This is the absolute best way to store a coffee grinder for any extended period.
Step 1: Unplug and Empty Everything
Safety first! Always unplug your grinder before you start cleaning or disassembling it. Once it’s unplugged, remove any and all coffee beans from the hopper. You can pour them back into an airtight bag or container. Then, run the grinder for 10-15 seconds to purge any remaining beans or large fragments from the grinding chamber.
Step 2: A Deep, Thorough Clean
This is the most critical step. You want the grinder to be as clean as the day you bought it.
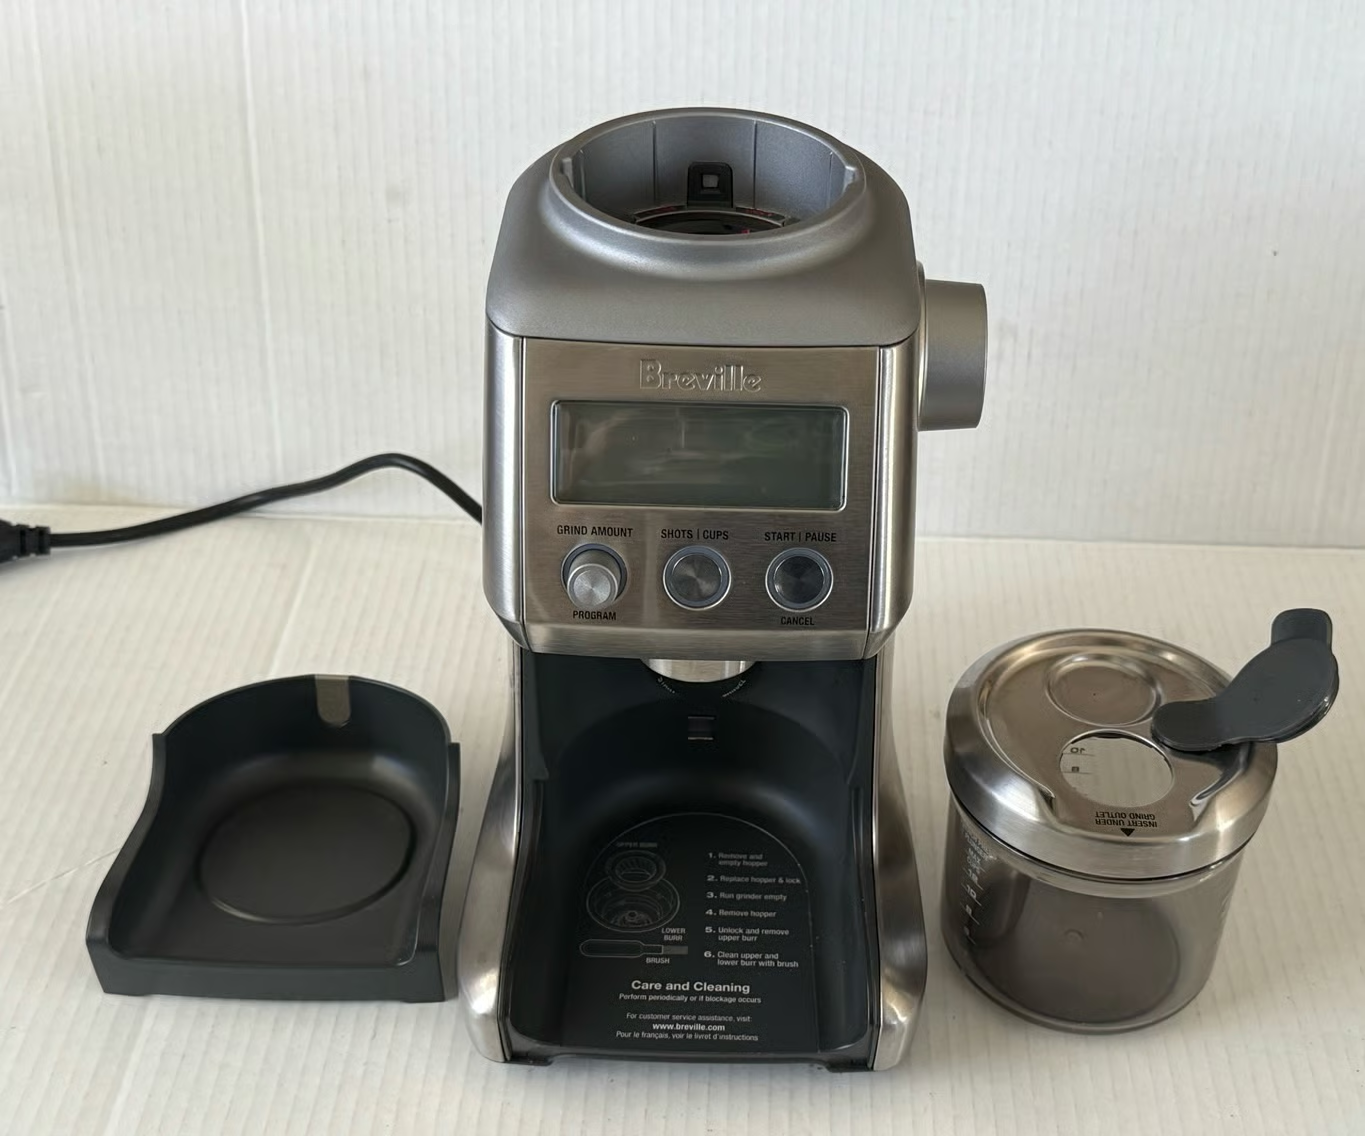
- Disassemble: Carefully remove the hopper and the upper burr carrier (consult your user manual if you’re unsure how). This gives you direct access to the grinding chamber.
- Brush it Out: Use a stiff-bristled brush (many grinders come with one) to vigorously brush out all the coffee grounds and chaff from the burrs, the chamber, and the exit chute. Get into all the nooks and crannies.
- Use a Vacuum: A small handheld vacuum or a vacuum with a hose attachment is your best friend here. It will suck out all the fine particles that brushing leaves behind.
- Consider Grinder Cleaning Pellets: For a truly deep clean, you can run a capful of grinder cleaning pellets (like Grindz) through the machine before you disassemble it. These food-safe pellets absorb and remove coffee oils and residue. Just remember to grind a small amount of old beans afterward to purge any cleaner residue.
As my friend Isabella Rossi, a certified equipment technician, always says, “Storing a dirty grinder is like putting a greasy frying pan back in the cupboard. The gunk doesn’t just sit there; it festers. That rancid oil is the number one killer of good coffee flavor.”
Step 3: Wipe Down and Dry Completely
Use a soft, dry microfiber cloth to wipe down all the components you disassembled, as well as the exterior of the grinder. Never use water on the burrs or any internal mechanical parts, as this can lead to rust. If your hopper is washable, clean it with warm, soapy water, but make sure it is 100% bone-dry before you even think about reassembling it or storing it.
Step 4: Protect and Pack Away
Now that it’s sparkling clean, it’s time to put it to bed.
- Reassemble Loosely or Store Separately: For very long-term storage, some people prefer to store the upper burr separately in a small, sealed bag to ensure no moisture gets trapped. For a few weeks or months, reassembling it is fine.
- Find a Safe Home: Choose a storage location that is cool, dry, and dark. A pantry or a high cupboard away from the stove or sink is ideal. Avoid basements or garages, which can be damp.
- Box It Up: The best container is the original box it came in, with the original foam inserts. This offers the best protection against bumps and shocks. If you’ve tossed the box, a sturdy plastic container with some padding (like bubble wrap or towels) works well. This also provides an excellent barrier against dust and moisture.
Common Grinder Storage Mistakes (and How to Avoid Them)
I’ve seen it all over the years. Here are a few common blunders that can sabotage your grinder’s health and your coffee’s taste:
- The “Bean-in-Hopper” Method: Leaving a full hopper of beans in the grinder while you’re away for two weeks. This guarantees stale coffee and can stain your hopper.
- The “Store it Dirty” Tactic: Just unplugging it and putting it away covered in coffee dust and oil. This is a recipe for a rancid-tasting first cup when you return.
- The “Humid Hideaway”: Storing it in a damp basement or a cupboard right above the kettle. This is practically inviting rust to a party on your burrs.
- The “Sunbathing Grinder”: Leaving it on a windowsill where direct sunlight can degrade any plastic components and heat up the internal mechanisms.

Avoiding these simple mistakes is half the battle in understanding what is the best way to store a coffee grinder.
Frequently Asked Questions (FAQ)
Let’s tackle some of the most common questions I get about this topic.
Can I store my coffee grinder with beans in the hopper?
For daily use, it’s generally okay to leave a day’s worth of beans in the hopper. For any storage longer than a day or two, you should always empty it. The beans will go stale, and their oils will coat the inside of your grinder and hopper, affecting flavor.
How often should I clean my grinder before storing it?
If you’re storing it for more than a week, you should always perform a deep clean as outlined above. For short-term storage (a few days), simply purging the remaining grounds is sufficient.
Will the burrs on my coffee grinder rust in storage?
If you store the grinder in a dry environment and ensure no water has touched the burrs, they will not rust. Rust is caused by moisture. This is why cleaning with a dry brush and vacuum is so important and why a damp storage location is a major no-go.
What is the best way to store a manual coffee grinder?
The principles are exactly the same! Disassemble it, use a brush to clean the burrs and chamber thoroughly, wipe it down, make sure it’s completely dry, and store it in its box or a protective bag in a cool, dry place.
Do I need to re-season the burrs after long-term storage?
“Seasoning” burrs is the process of grinding a small amount of coffee to coat new burrs with a fine layer of coffee oil, which helps reduce static and inconsistency. After a deep clean and storage, it’s a great idea to grind 10-20 grams of beans you don’t plan to drink to “re-season” the burrs and purge any remaining dust before dialing in for your perfect brew.
Your Grinder’s Future Is in Your Hands
So there you have it. The secret to grinder longevity and consistently amazing coffee isn’t some complex, time-consuming ritual. It’s a simple act of care. Taking 15-20 minutes to properly clean and pack away your grinder before a break will pay you back tenfold in performance, lifespan, and, most importantly, flavor.
Investing in a quality grinder is one of the biggest steps you can take toward better coffee at home. Learning what is the best way to store a coffee grinder is how you honor that investment. Now I’d love to hear from you! Do you have a special storage trick or a question I didn’t cover? Drop a comment below and let’s talk coffee.